The Bayeux Tapestry, or the Story of the Conquest of England

History in images. That is one way to describe one of the most amazing monuments of medieval art, the so-called Bayeux Tapestry. It is not only an exceptionally high-quality and detailed account of the Norman conquest of England, but also one of the best depictions of a medieval battle ever."
When William the Conqueror set sail from the shores of Normandy, he did not hope for such a swift victory as the one he achieved at Hastings. The famous event, which soon gained recognition even on the continent, undoubtedly deserved to be immortalized for future generations. This time, however, it wasn’t left only to the chronicles of William of Poitiers, who recorded William I the Conqueror's campaign in writing, but the event was captured in a way that people many generations later could understand. The story of the conquest of England was immortalized in a monumental embroidery on a nearly seventy-meter-long strip of fabric, half a meter high.
History written in thread
The unique monument became known as the Bayeux Tapestry, but in fact, it is not a tapestry but an embroidery, since a tapestry is created by weaving. However, this does not change the fact that it is a handmade work. There are several theories about the origin of the tapestry. For centuries, a French legend attributed it to Queen Matilda, William’s wife, and her court ladies, but it was most likely commissioned by Odo, Bishop of Bayeux, who probably ordered it in connection with the construction of Bayeux Cathedral, completed in 1077. Odo was William the Conqueror’s half-brother and is one of the few figures depicted multiple times in the tapestry. The first surviving written reference to the Bayeux Tapestry comes from 1476 when it was listed as part of the inventory of Bayeux Cathedral. The work itself is about 400 years older. Furthermore, the tapestry was not created in France but in England, which at the time produced very high-quality embroideries known as Opus Anglicanum, famous throughout Europe.
The story of the Norman invasion, depicted on the tapestry, can be divided into 13 distinct but interconnected images, which are further divided into a total of 32 scenes. There are 623 people, 202 horses, 55 dogs, 49 trees, 41 ships, and more than five hundred real and mythical animals embroidered, all described with about two thousand Latin words. It should also be noted that two sections of the tapestry have not survived. These likely depicted the culmination of the entire story, namely the submission of London and William’s coronation on Christmas Day in 1066. These two scenes were reconstructed in the 20th century in the same style. For all of us, it is certainly interesting that between 2004 and 2007, an exact replica of the tapestry was created as a tapestry by Olomouc textile artist Věra Mičková.
Harold's Norman Adventure
The story begins with the depiction of the aging King Edward the Confessor in the company of the powerful Earl Harold at Westminster. Immediately afterward, Harold, with a hawk on his hand, sets off at the head of his retinue to Bosham, where he prays in a church for a safe voyage. In the next scene, we see Harold's embarkation and crossing of the English Channel. Unfortunately, we do not know the details of this voyage, its destination, or its purpose, but it can be dated to 1063 or a year later. Only Norman sources report that Harold was traveling to Normandy with a message of succession for Duke William. Harold suddenly appears on the other shore in the county of Ponthieu, where he is captured by Count Guy (VVIDO). Guy, on horseback, gives orders. We can reasonably assume that Harold was heading for Duke William on behalf of King Edward, but adverse weather forced him to land elsewhere. Harold is then taken to Beaurain (BELREM), the center of Ponthieu, where he is detained.
In the next scene, Duke William learns of the situation and sends messengers demanding Harold’s release. The messengers ride at full speed, their hair flowing in the wind, to Count Guy. And indeed, Count Guy takes Harold to the Norman Duke William, the retinues meet, and William and Harold return to Rouen. A mysterious scene follows, which likely had nothing to do with the story but must have been well-known at the time. Between two decorated columns with dragon heads, a woman named Ælfgiva (ÆLFGYVA), one of only three women depicted on the tapestry, appears with an unknown cleric who touches her face. All we can say about the scene is that the name was fairly common in Anglo-Saxon noble circles, and in the so-called marginalia at the bottom of the tapestry, directly under this scene, we see two naked men, which in this context may suggest a sexual scandal.
War with Brittany
A considerable portion is then dedicated to the military campaign against the Duke of Brittany, Conan II, in which Harold participated alongside William. We see the Normans with Harold marching under the abbey of Mont St. Michel. And again, a scene that wouldn’t have to be on the tapestry at all, but the author captured it anyway. Two Norman soldiers are trapped in quicksand, and both are rescued by Harold. It is here that we must appreciate the narrative value of the tapestry, as it masterfully captures characters, moods, dynamics, and emotions. In the next scene, we see the siege of the fortress of Dol, from which Duke Conan escapes by rope. He is pursued to Rennes (REDNES), the capital of Brittany, and then to the fortress of Dinan, where a fierce battle takes place. Duke Conan finally surrenders and hands over the keys to the fortress on the tip of a spear to the Norman conquerors.
After the victorious campaign, we see William gifting armor to Harold. It was not just a gift, but a symbol of William’s superiority, which was of great importance, especially for the Normans. In the next scene, we move with William and Harold to Bayeux (BAGIAS), where Harold solemnly swears on two relics of saints to support William's claim to the English throne. The presentation of armor and the oath on the relics are among the most important scenes of the tapestry, used by the Normans to justify the invasion of England.
Tomb, Crown, and Invasion
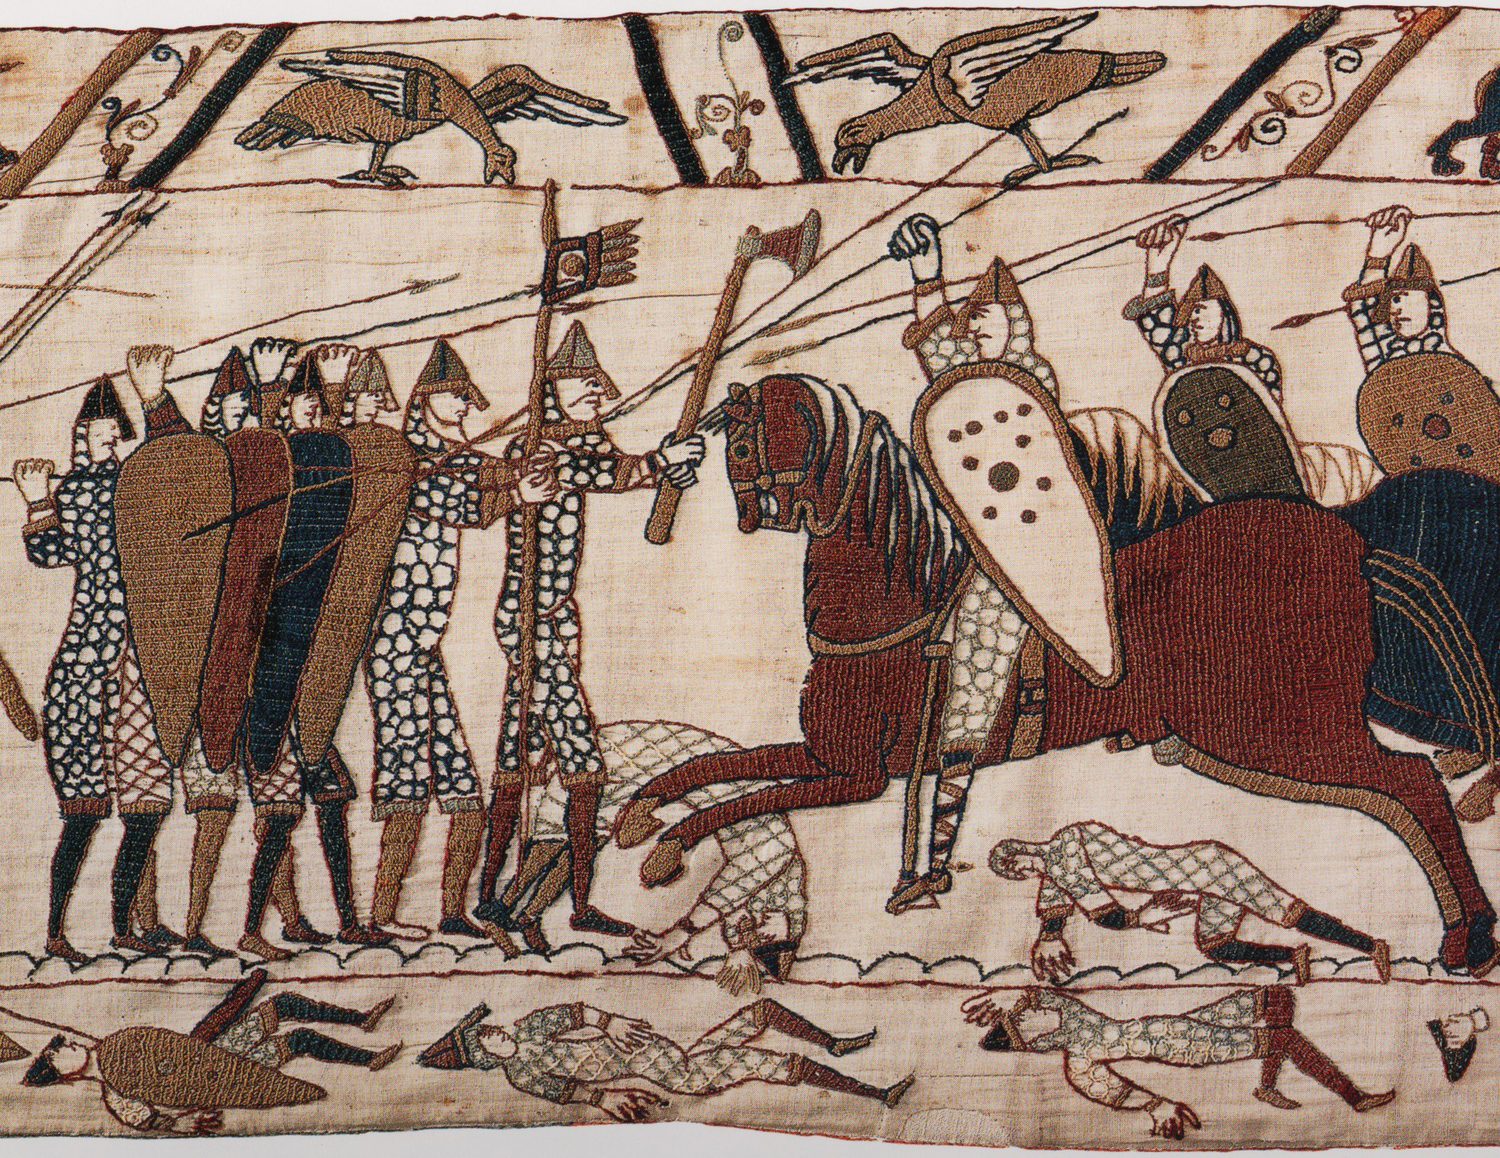
After returning from Normandy, Harold comes to King Edward, who, in the next scene, lies on his deathbed, where we also see Harold and his wife Edith. His body is then carried in a coffin to Westminster, where he is buried. Events move quickly. Harold is offered the crown and the axe, symbols of royal power, by two nobles, which he accepts, and so we see him in the next scene as king, sitting on the throne. However, his ascent to the throne is accompanied by an ominous event, the appearance of a star, or more precisely, Halley’s Comet. In the Middle Ages, it was believed that such phenomena foretold disaster.
News of the events in England reaches Normandy, and William gives a clear order to prepare for the invasion. In the next scene, we see men cutting down trees, shaping planks, and building ships. These are then launched into the sea and gradually loaded with all necessary provisions. Once again, we must admire the detailed depiction of the invasion preparations. Chainmail armor, weapons, and supplies are loaded onto the ships, and William himself boards. However, one key scene is missing: the Battle of Stamford Bridge and the death of Harald Hardrada. The tapestry is, after all, a work of the Normans, created from their perspective. The Norman expedition for the English crown begins.
A large fleet crosses the English Channel. The ships of William’s fleet are embroidered with historical accuracy; the dragon ships are magnificent, even in spatial perspective. Some ships carry soldiers, while others transport only horses. With the help of the Bayeux Tapestry, we can imagine how Viking raids looked during the past three centuries. The fleet has already arrived at the English coast, horses are being unloaded onto the land, and the crew dismasts the ships and pulls them ashore. The soldiers quickly move toward Hastings, where they loot villages and gather supplies for a feast. We see this in the next scene, where food is cooked in pots, meat is roasted on spits, and servants bring the meal to William, his brothers Odo and Robert, and others on shields. William also orders the construction of a defensive stronghold, a fort on an artificially raised mound (motte), while the surrounding buildings are set on fire. Here, we see the third woman of the tapestry, fleeing with a child from a burning house.
Battle Like It’s Alive
The preparations are complete, and the soldiers set out for the place where King Harold’s army has gathered. Scouts bring news of the precise location of the Saxons, and we already see Norman knights galloping to meet Harold’s infantry. Among the riders are several archers, but their time has yet to come. The first dead appear. Harold’s Saxons stand in a tight shield wall formation, under attack from Norman cavalry on both sides. The casualties increase, with some even losing their heads, undoubtedly the work of the Saxon huscarls wielding axes.
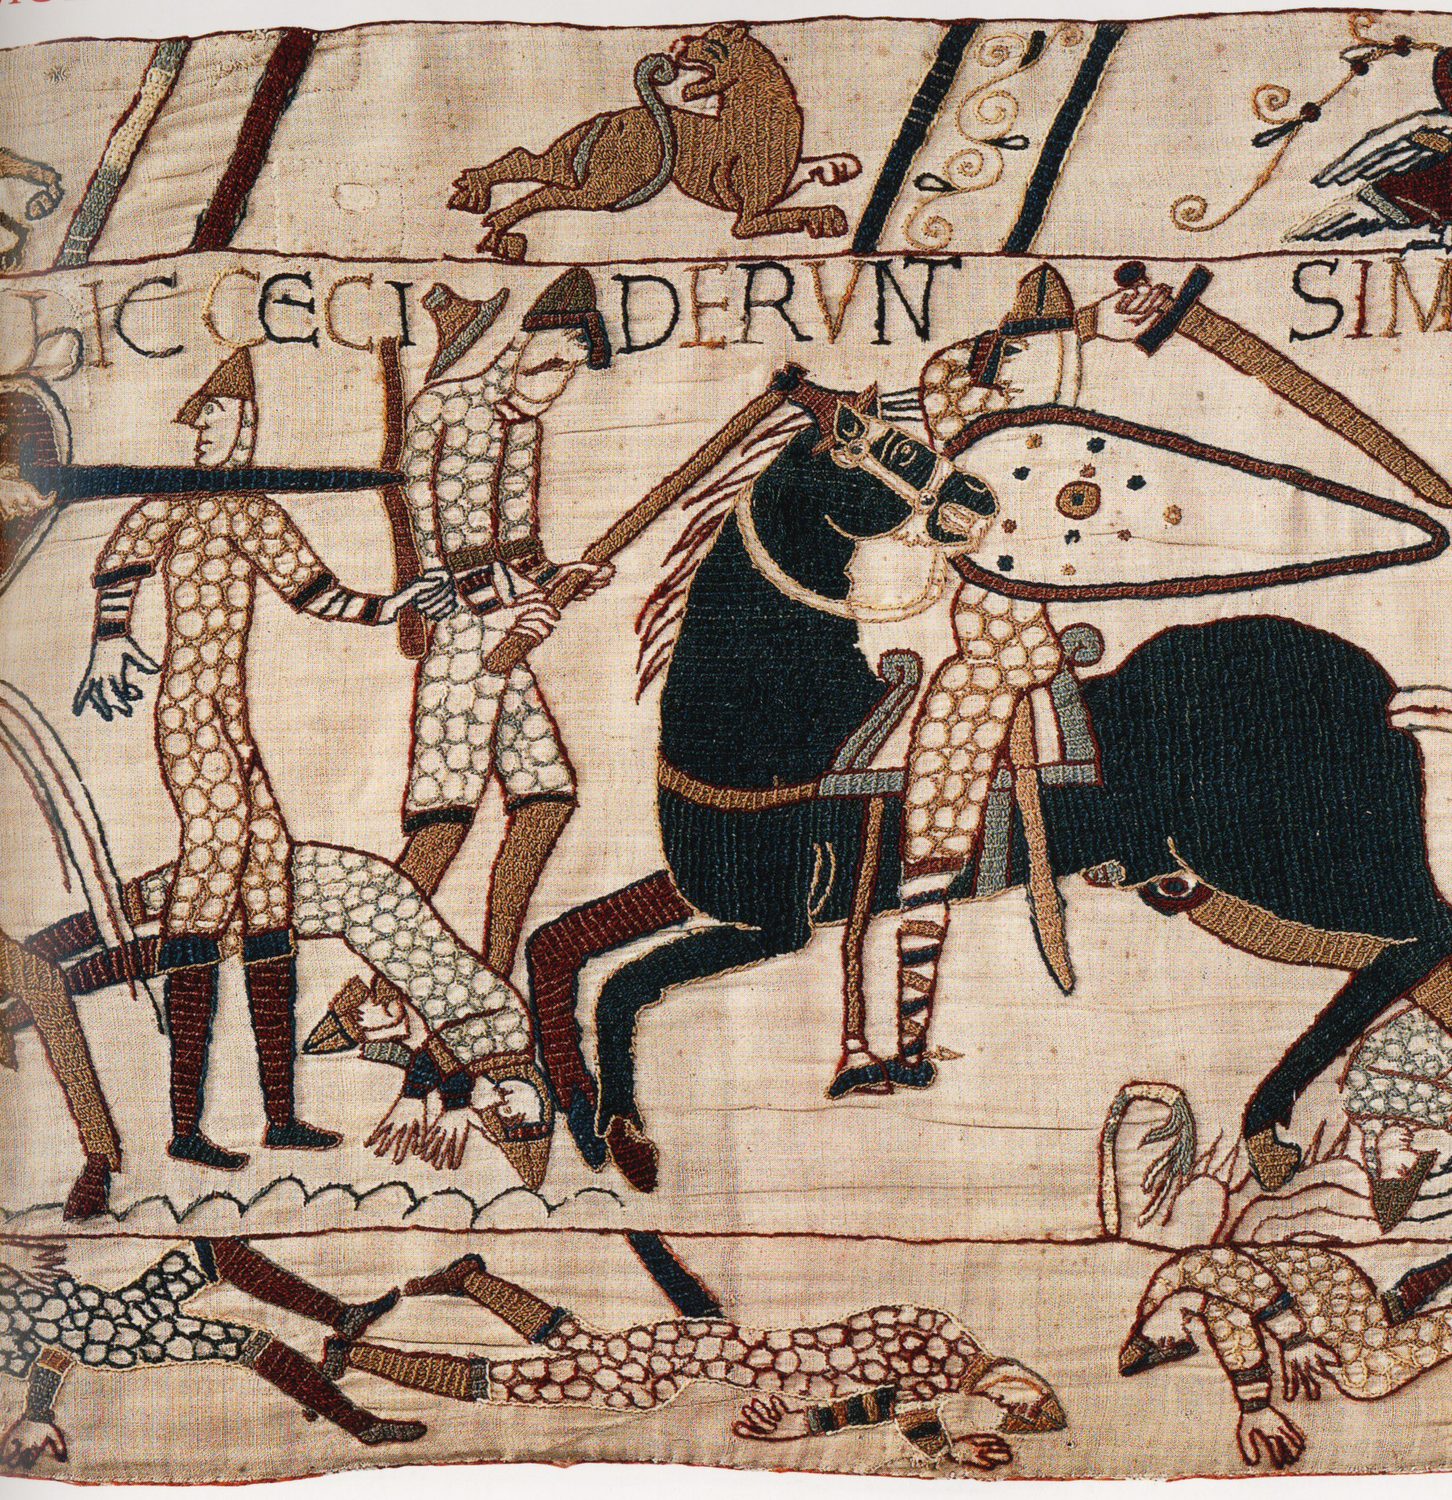
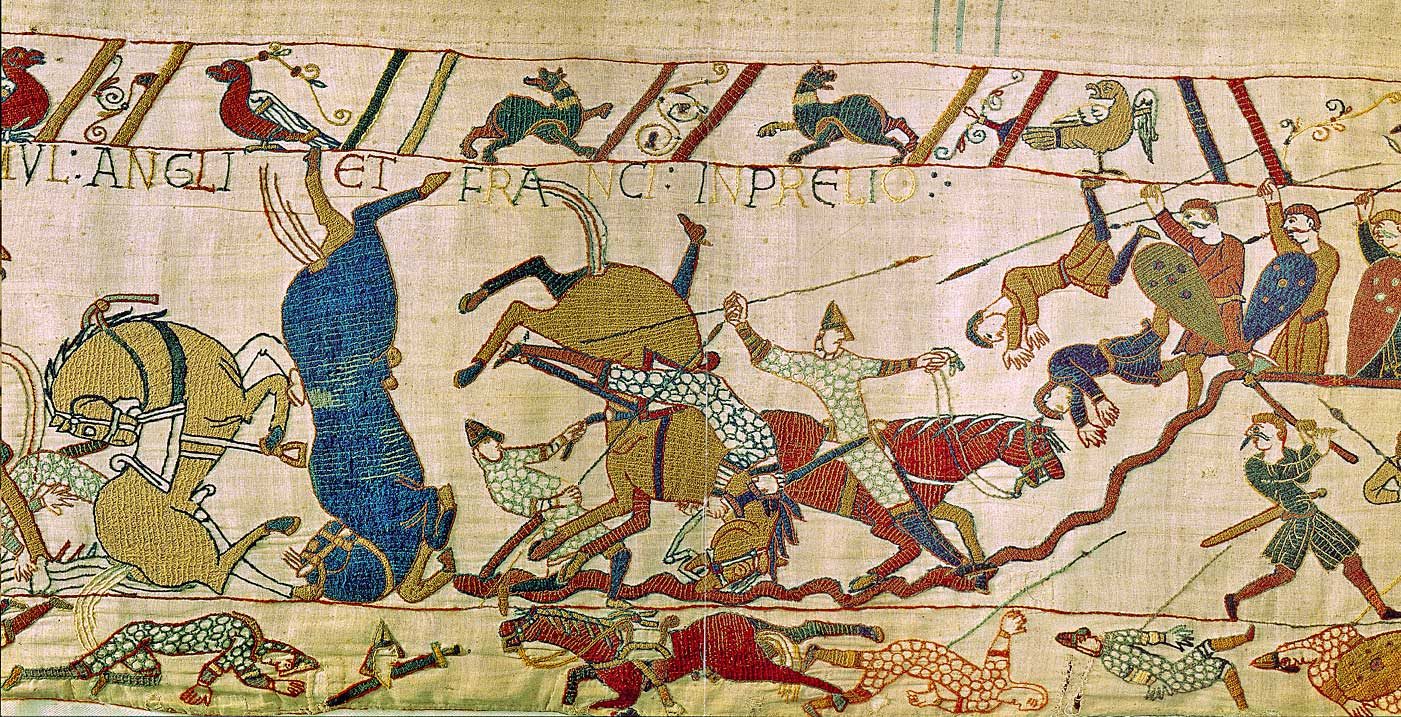
The battle intensifies. Under the weight of Norman attacks, both of Harold’s brothers, Leofwine (LEVVIN) and Gyrth (GYR), are killed. We see a series of fierce clashes between heavy infantry and cavalry, with a particularly vivid scene where a Saxon’s axe brutally strikes a horse’s head, sending it flying to the other side. The following scene shows an unsuccessful cavalry charge against the Saxon right flank, where fyrdmen bring down many riders, but they are caught off guard by another cavalry attack as they pursue the fleeing enemy. Odo of Bayeux reappears, depicted with a club, as clergy were forbidden to shed blood. William is also present, lifting his helmet to reveal his face and show his men that he is still alive, boosting their morale.
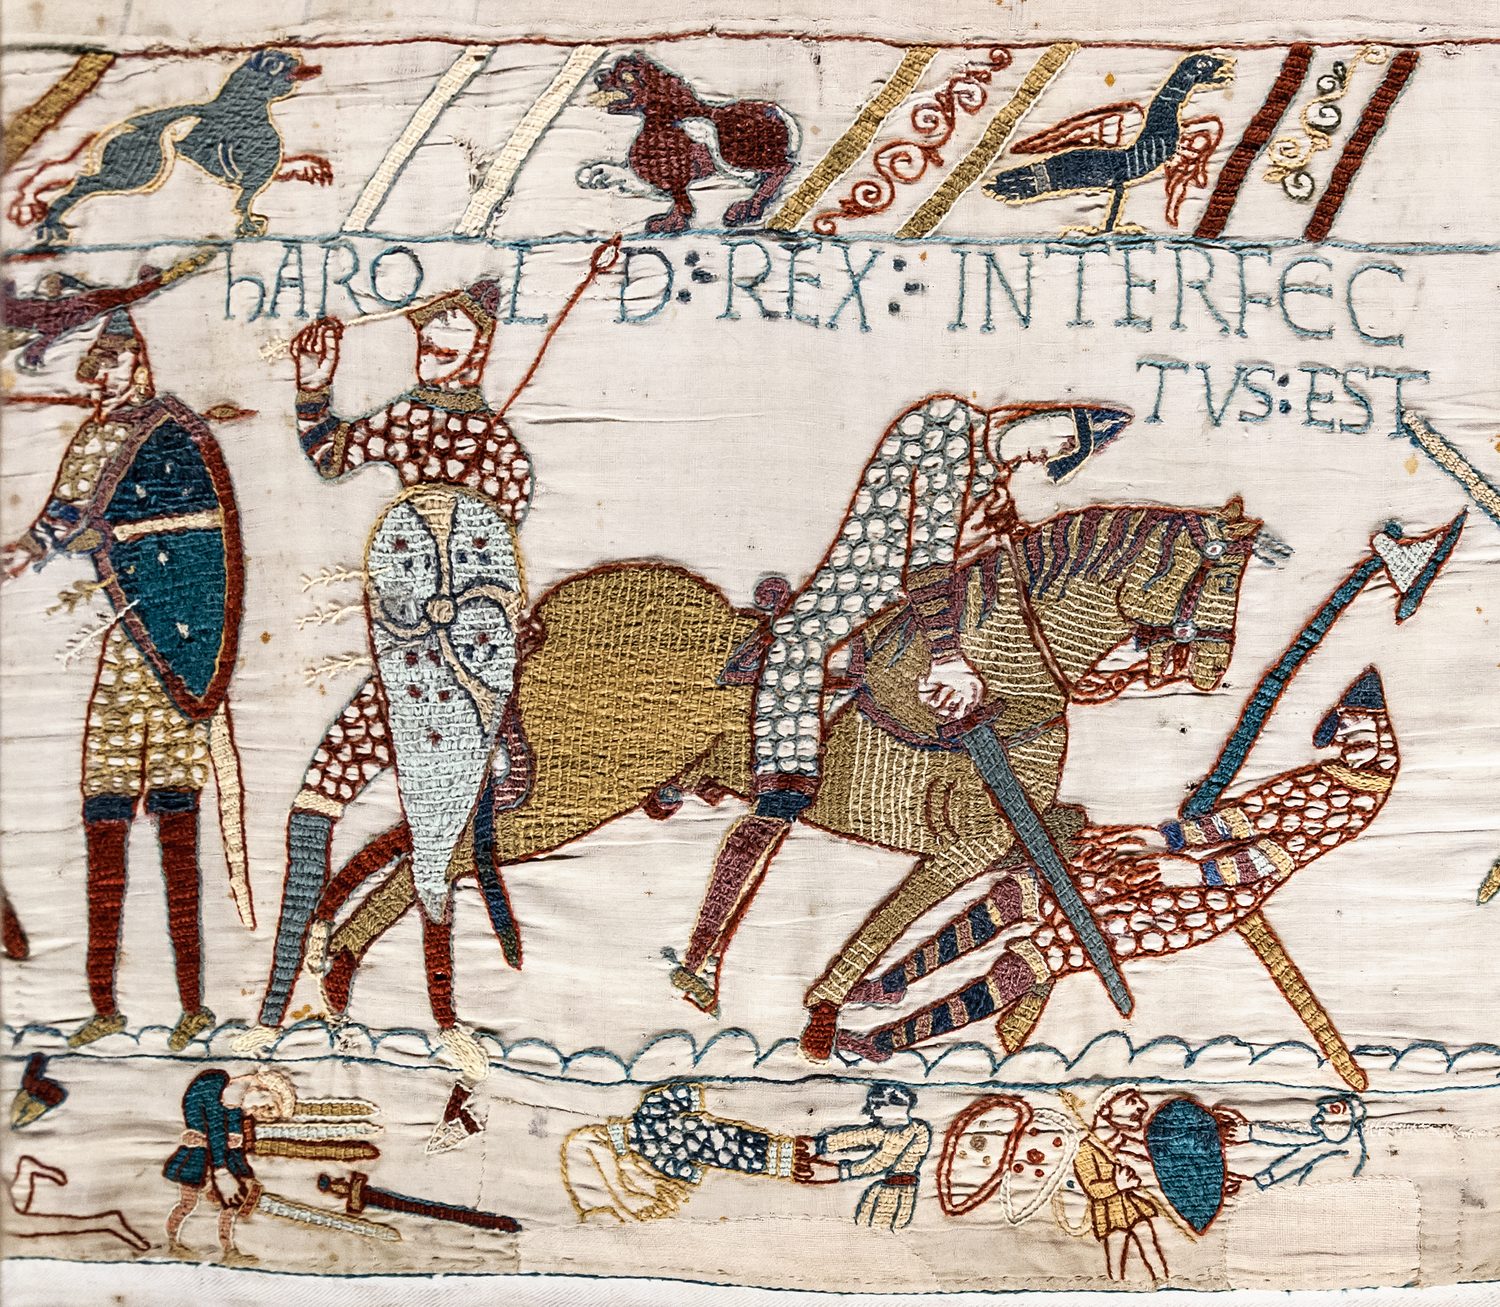
Finally, the archers enter the scene, visible in the lower strip of the tapestry. Another cavalry charge follows, and now, weakened by the archers’ volleys, the Saxon position collapses. Fortune entirely favors the Normans. King Harold is wounded and then killed. The shield wall disintegrates, and the survivors are chased down as they flee. The lower strip of the marginalia is filled with corpses, severed limbs, and the fallen being stripped of their armor during the looting. The battle ends in a complete Norman victory.
Related products


And what to read next?

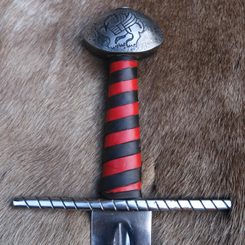
The Tale of Sir Radzig’s Sword
In the heart of Bohemian workshops, a replica has been forged of the sword known to millions of players around the world. In Kingdom Come: Deliverance, Sir Radzig Kobyla’s sword carries the weight of destiny. It was meant to be a gift from a father, but fell into the hands of the enemy. In the end, however, it was reclaimed and returned to its rightful owner. It became a symbol of loyalty and of the strength to endure in the face of adversity.
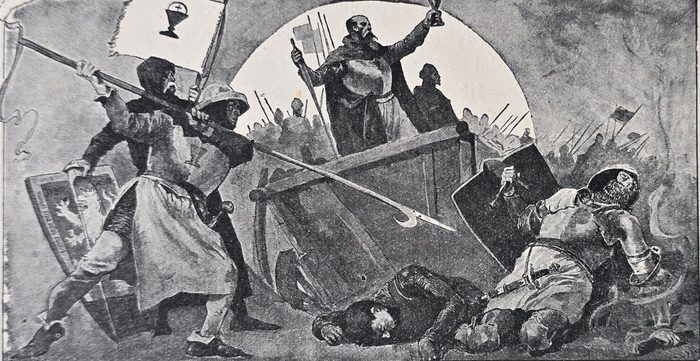
The Hussite Shock to Europe: How a Small Nation Changed the Continent
The Hussites were not merely heretics, as their enemies called them. They were the first to prove that it was possible to defend one's faith even against the whole of Christian Europe.

Trosky Castle
Trosky, the magical symbol of the Bohemian Paradise, hides a labyrinth of underground tunnels.
Jan Žižka of Trocnov, an ode to a brilliant military leader
He ranks among the most significant medieval commanders in European and Czech history—Jan Žižka of Trocnov (c. 1360 – October 11, 1424) is considered one of the undefeated giants of world battlefields. He gained fame for his use of the wagon fort, a highly effective defensive technique. His Hussite soldiers were pioneers in the use of firearms, particularly the "píšťala," a term from which the English word "pistol" is derived.