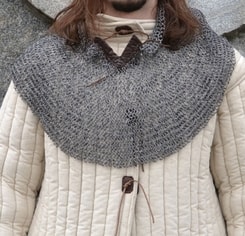
Wooden manual machine for making rings from wire for producing chainmail armor.
Here is the corrected version with the original meaning preserved:
-
Unwind about 1.5 m of wire.
-
Insert the wire into the hole.
-
Turn the crank and check that the wire does not cross. This can be ensured by checking with your fingers.
-
Once you reach the end, or wherever the wire ends, take cutting pliers and cut the wire.
-
Align the protruding end of the wire with the rest so it does not stick out. Use combination pliers for this.
-
Using pliers, open them and grip the wires, then start turning the crank while holding the pliers firmly closed. After several turns, the wire will align with the rest.
-
The next step is removing the wound wire. Do this by taking the combination pliers again and using the first larger loop to pull the wire out of the hole where you started.
-
After removing the wire, take cutting pliers and cut the individual rings.
-
Divide the individual rings into two halves. One half remains closed and the other half will be open.
-
This is followed by the linking process itself. Which chainmail pattern you use is up to you. The standard variant is inserting four rings into one ring.
Dimensions: 11 x 45 cm.


Related products